
Brisbane Area WICEN Group uses the OwnCloud synchronisation and file sharing service for organising events and keeping contact information current. It is hosted by one of the members here in Brisbane.
What is needed to access OwnCloud?
To access OwnCloud, you only need a recent web browser. Windows XP users may have difficulty reaching the site using Internet Explorer, other browsers should work fine.
Recommended configuration is:
- Operating System:
- any modern GNU/Linux (released since 2010)
- Android 4.0 (or later)
- Apple MacOS X 10.5.6 (10.7 or later preferred), or iOS 4
- Microsoft Windows 7 (or later)
- Web browser
- Apple Safari (as shipped in MacOS X 10.5.6+, iOS 4)
- Google Chrome (version 6 or later)
- Microsoft Internet Explorer (version 7 or later)
- Mozilla Firefox (version 2 or later)
Accessing Brisbane WICEN OwnCloud
There are two addresses you can use for accessing OwnCloud:
https://owncloud.brisbanewicen.org.au (preferred)
http://owncloud.brisbanewicen.org.au
The former is strongly preferred as it encrypts the communications between your web browser and the server. Using a clear-text (“not encrypted”) link is bad for these reasons:
- People can see all traffic, including the log-in request containing your password, allowing that other person to possibly log in and impersonate you on the OwnCloud site.
- All content you see can be seen by those same third parties, including content such as peoples’ contact details (that they may wish to be kept private).
- The content you see can be manipulated by third parties (e.g. injecting malware)
The latter site is provided as a fall-back option if you absolutely must log-in and have no other way of doing it. Internet Explorer on Windows XP for example cannot access the site as it lacks support for Server Name Identification. Please do not use this link on a public WIFI hotspot or untrusted network!
Using OwnCloud
For documentation on how to use OwnCloud itself, your best resource would be the official OwnCloud documentation. This has changed a bit since the OwnCloud site was first established, and in particular, the detail on how to use Calendars and Contacts is in flux at the moment, so the following is a quick survival guide.
Logging in
You’ll have been issued with a username and password… the username is usually your radio call-sign in lowercase. The OwnCloud log-in screen looks like this, you enter your username and password as shown here (click to enlarge).
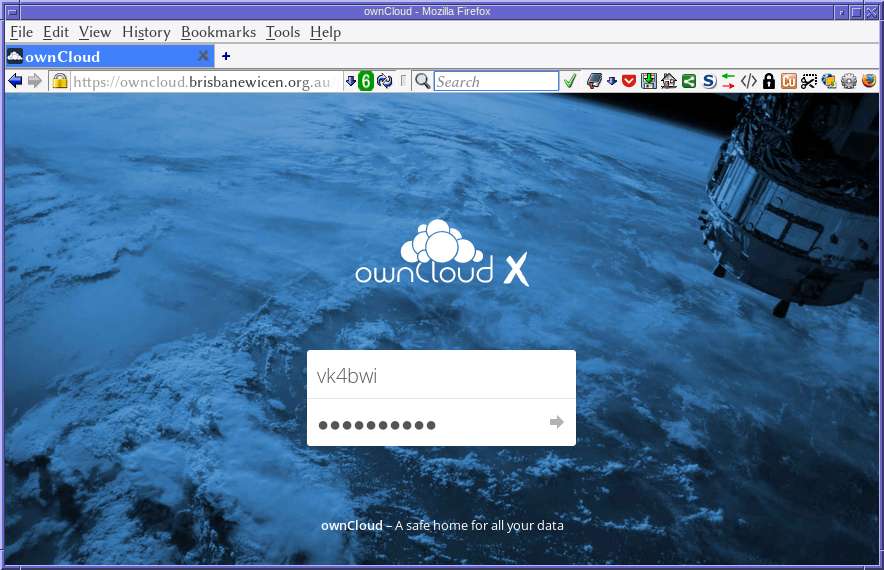
You can either press ENTER or hit the grey arrow on the right-hand end of the password field, either will work.
Having done this, it’ll likely take you straight to the calendar, so let’s start exploring there.
The Calendar
First time visit
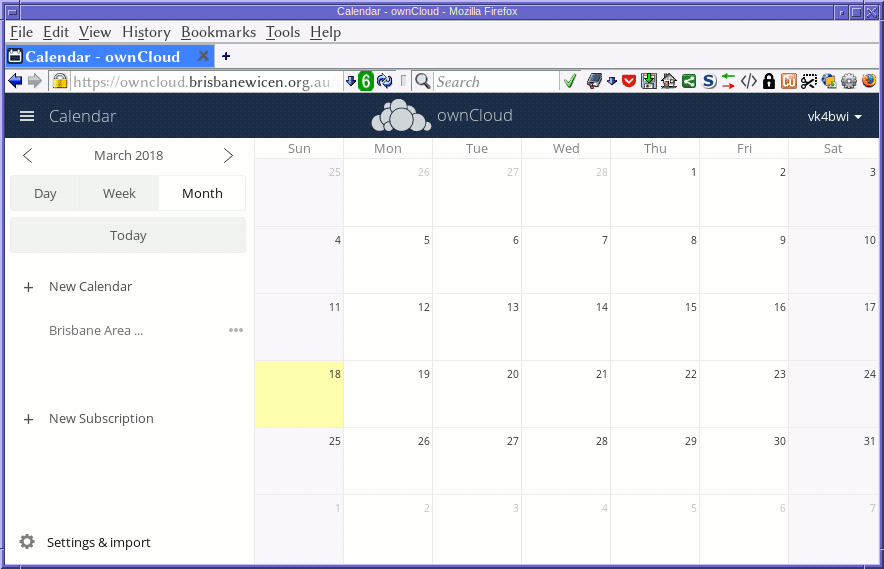
This is likely the first thing you’ll see. OwnCloud assumes you might have other calendars to import, as seen below, so it displays the “Settings & Import” pane.

The calendar you want is actually hidden in this screenshot, so click on the “Settings & Import” heading to collapse it down, and you’ll see the main WICEN calendar is there, but turned off.
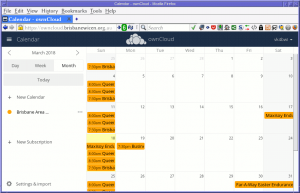
 Now, click on “Brisbane Area WICEN(admin)” (it may be shortened as seen above), and you should see the group’s events appear.
 Adding new events

Adding an event is a simple operation. First navigate to the week in which the event starts, then click on the day where the event starts and drag with your mouse, releasing when you get to the last day of the event. OwnCloud will then pop up a dialogue box for you to fill in the event details.
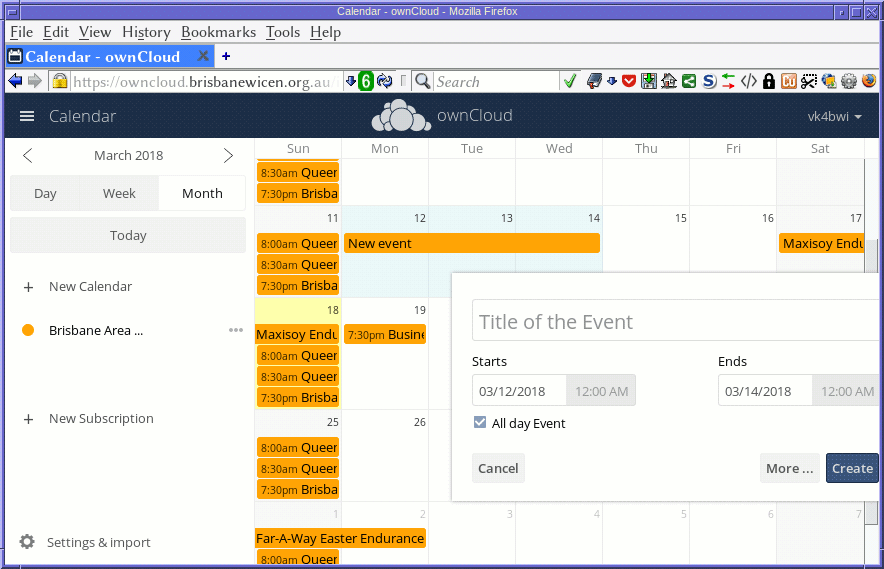 For some members, there may be more than one calendar, and if so, you’ll see right below “Title of the Event”, is a drop-down box allowing you to select the calendar. If you wish others in WICEN to see it (and for it to appear on the public calendar), you must select “Brisbane Area WICEN(admin)” as seen here:
 Editing and deleting events

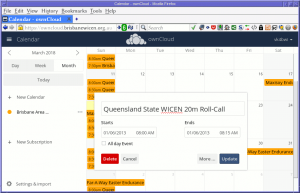
To edit or delete an event, simply click on it. From the pop-up that appears, you can edit or delete the event.
 Deleting personal calendars

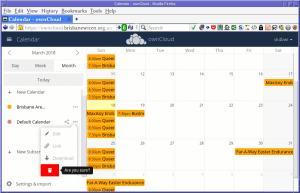
OwnCloud may have created a new calendar that’s private to you when the account was set up. If the additional calendar is confusing or unwanted, it can be deleted by clicking on the three dots that appear beside a calendar’s name, then clicking on the Delete menu option.
 Once clicked, the item will turn red with a 3-second count down, before the count-down changes to a rubbish bin icon. When this happens, click again to confirm.
 Moving between applications in OwnCloud

We started with the calendar since that’s where you are by default. Up the top-left corner of the page is a so-called “hamburger menu“. Click on that, and you’ll see all the applications set up on OwnCloud.
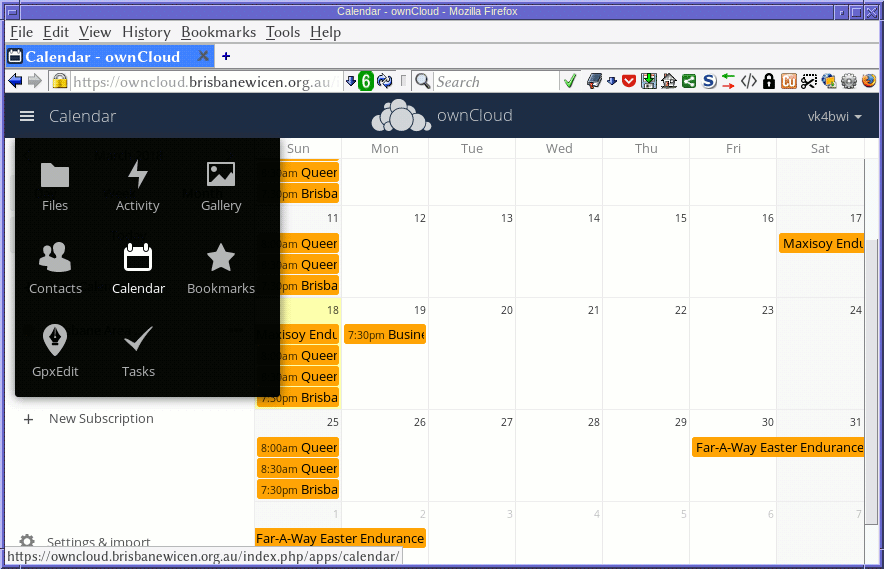 The currently active application will be highlighted. The following applications are installed:
- Files: This is where meeting minutes, event notes and other documentation is kept. It is also where you go to add photos to a gallery.
- Activity: This is basically just a report of what you and others have done in the recent past on the OwnCloud system.
- Gallery: This is a photo gallery, put one or more photos into a directory (via the Files application) and they’ll appear here.
- Contacts: If you’re looking for contact details for other WICEN members, this is where you’ll find them. They can be edited here too.
- Calendar: We just looked at this, this is the event calendar.
- Bookmarks: This is where you can keep, and share, links to other websites.
- GpxEdit: This is a GPX waypoint editor and viewer, allowing you to mark out waypoints on a map graphically and save these to a GPX file. You can then download this GPX file (via the Files section) to your GPS for use in the field.
- Tasks: This is a TO-DO list application.
Contacts
If you select Contacts from the application menu, you’ll be taken to a page that looks like this:
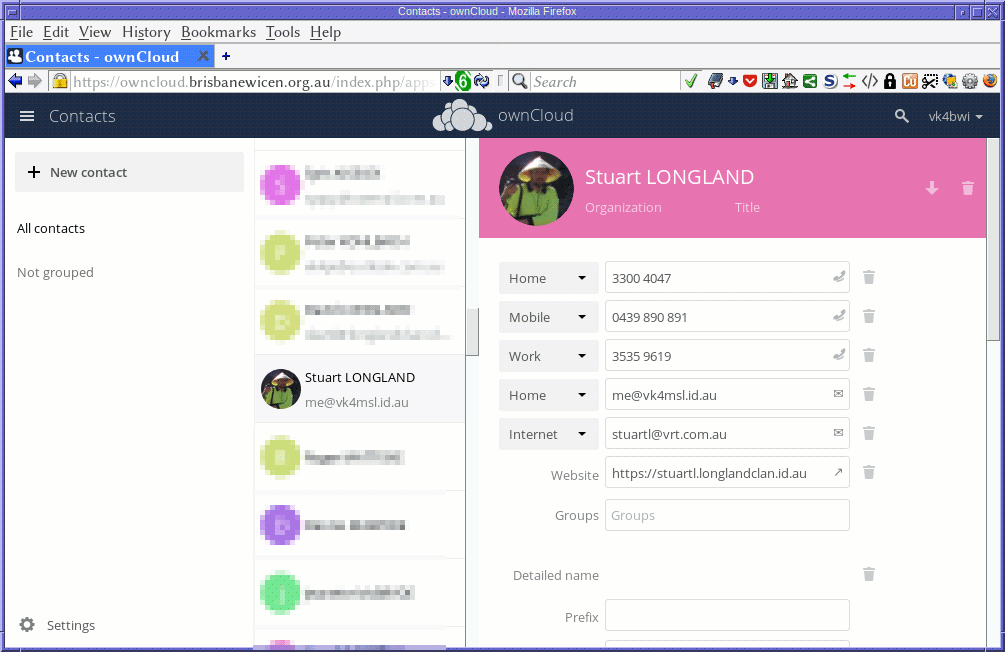 The “+ New Contact” link on the left is how you add new contacts to the system, or you can click on an existing contact to view and edit. At the top-right, the down-arrow allows you to download a copy of the contact (saved as a VCard file for import into your computer’s address book) and the rubbish bin to the right of that, deletes the contact.
Changes to a contact are saved when you click outside the field being edited.
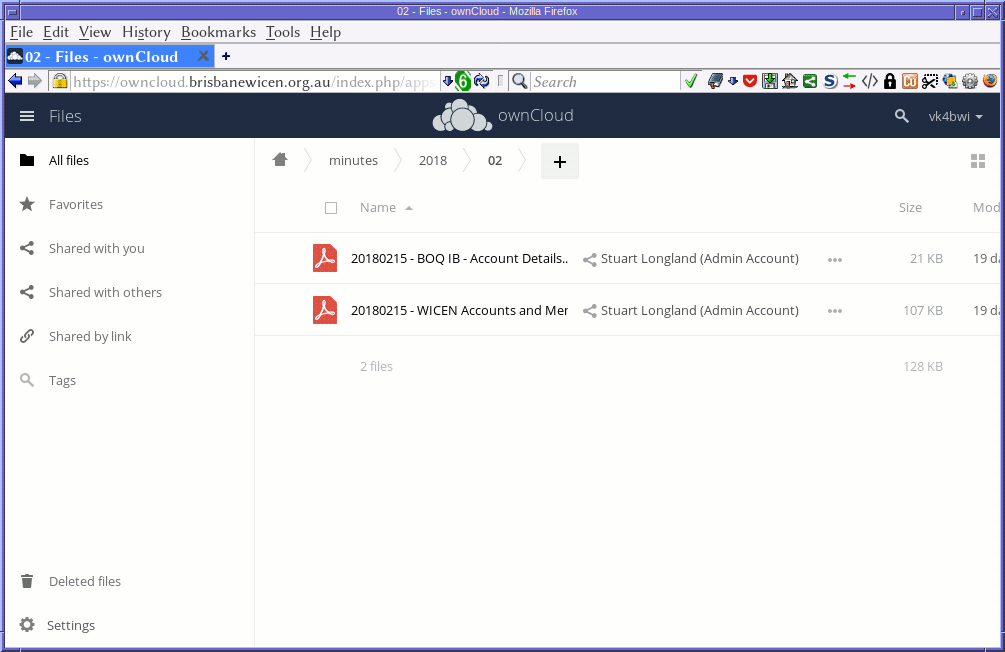
Files
Here, you’ll find the file storage area.
First visit
 On your first visit, you may be greeted with an invitation to download applications for desktop computers, Android and iOS. This is completely optional, but may be of interest. To dismiss, simply click the X icon up the top-right.
Directory listings
The root directory is what you’ll see. Any files you upload here are seen by you and you alone, unless you tell the system to share them with others.
 You’ll notice certain folders have a “shared” icon on them. These are directories that are owned by another user, and have been shared with you. In most cases, you’ll have write permission to these directories, meaning you can upload, overwrite and delete files in these shared directories.
Clicking on a directory takes you into that directory and displays its contents. Your browser’s BACK button is used to navigate back, or you can use the “bread crumbs” that appear up the top of the directory listing.
 Viewing a file
To view a file without downloading (if it’s supported), simply click on it. It’ll open up in the browser.
 To get back to the directory, use you browser’s BACK button.
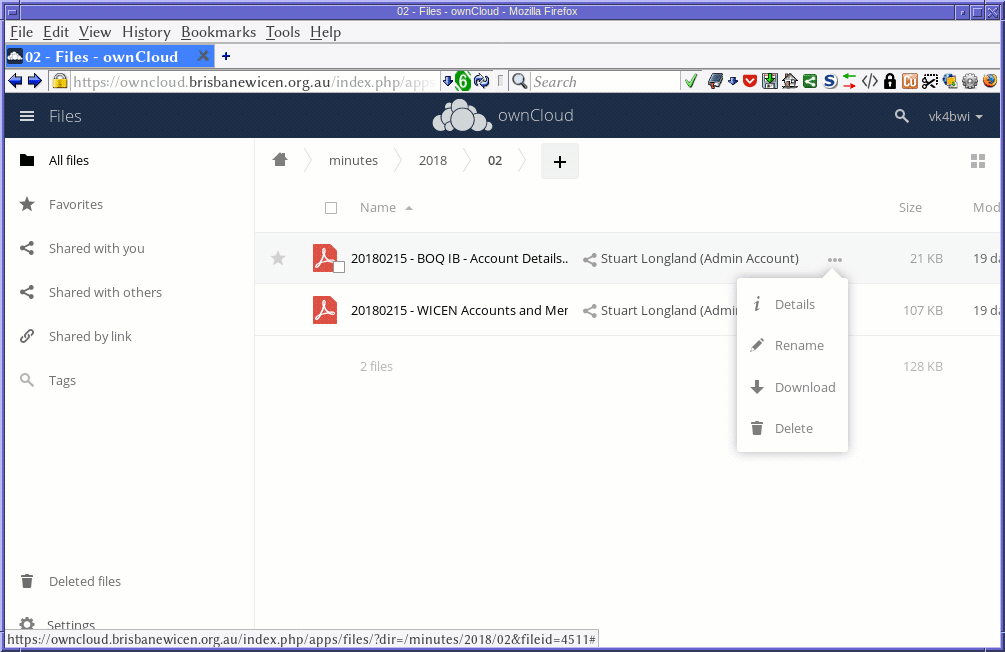
Other file operations
To the right of each file is an ellipsis icon (…). Clicking this reveals other operations that may be performed, including renaming, deleting and downloading.
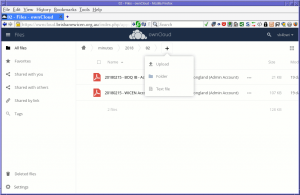
 Adding files and directories
To add items to a directory, use the plus icon up the top of the page. Here, you can create text files, directories, or upload files from your computer.
 User Profile settings

Another important feature to know, is the user profile settings. Up the top-right of the page, you’ll see either your name or your profile photo (if you set one). Click that, and a drop-down appears.
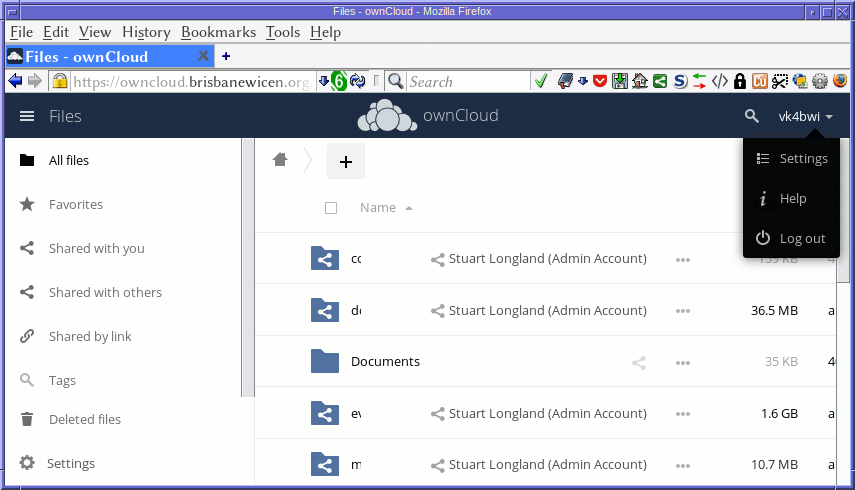 This is also where you go to log out. But for now, click Settings.
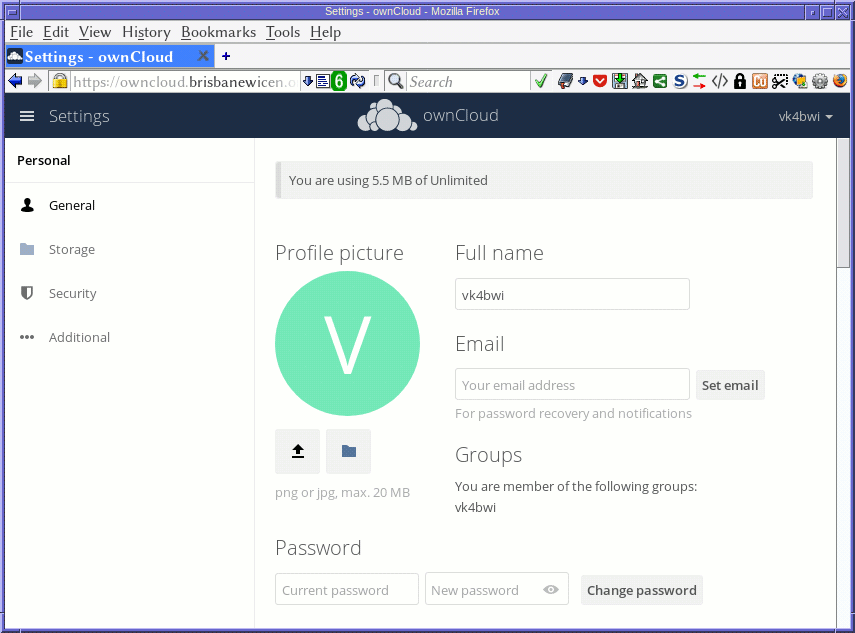 Here are a number of parameters. Most useful being the Email and the Password fields. Setting an email address allows you to recover your password should you forget it. The password field below is how you set a new password.
Getting Help
If you’re stuck, the best approach would be either to see us at a meeting, or to contact owncloud@brisbanewicen.org.au for assistance.